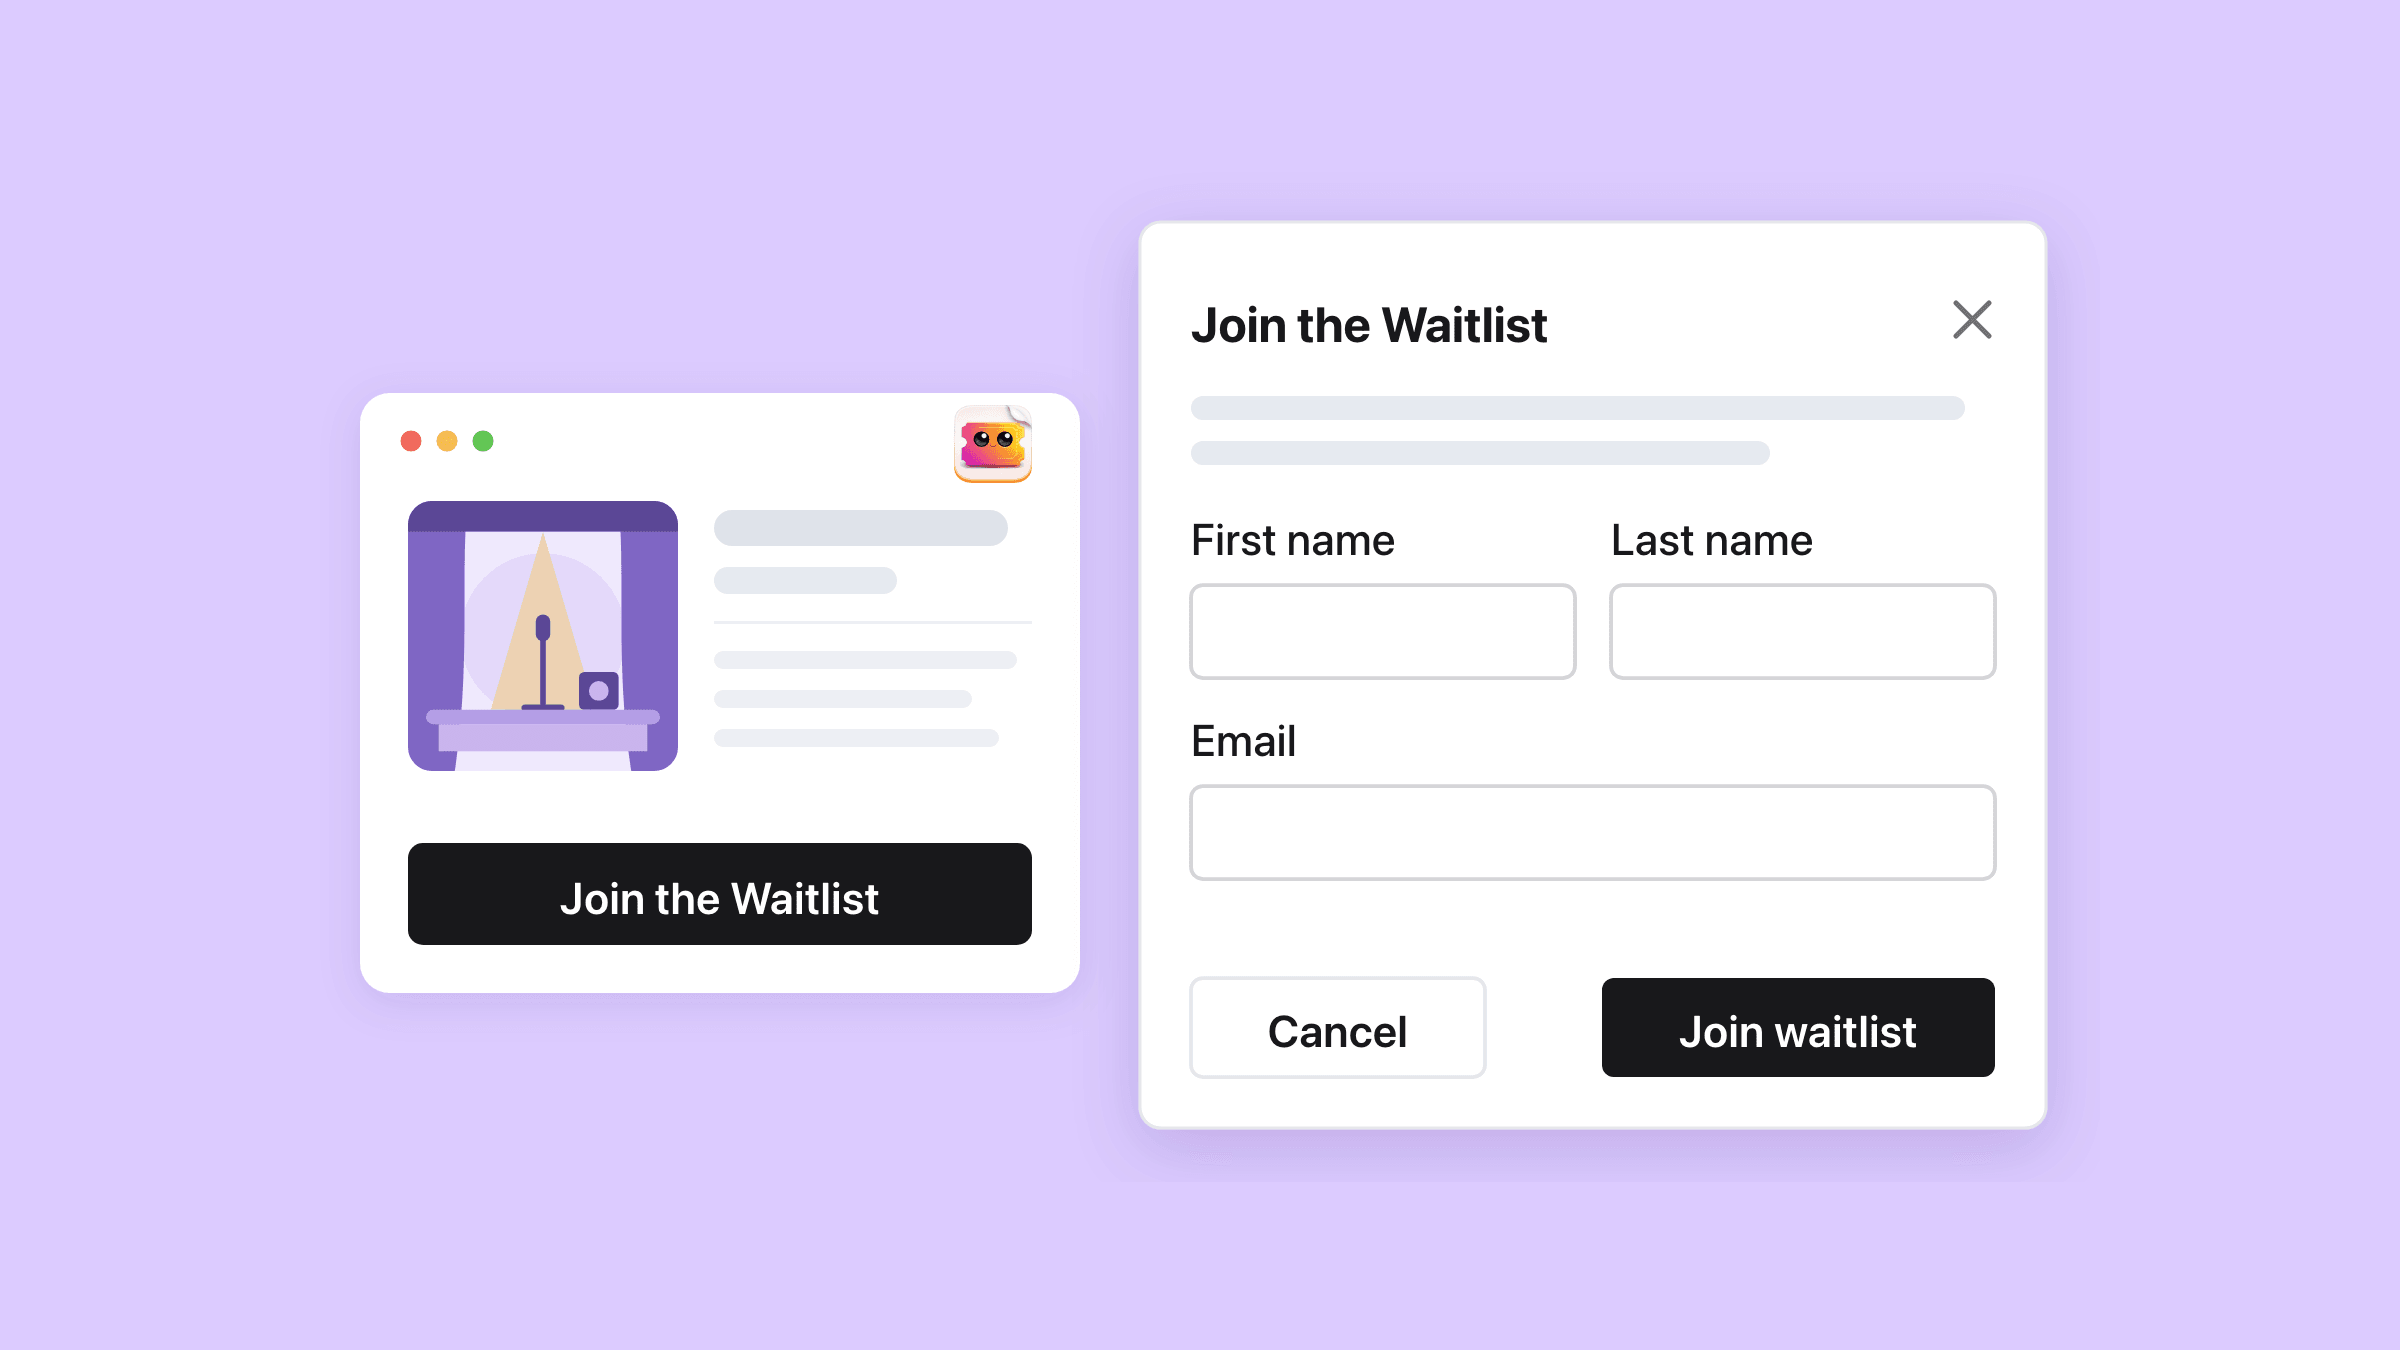
Easy Tickets & Events adds a waitlist to sold-out Shopify events, on every plan including Free. Once every ticket type is sold out, the buy button becomes “Join the Waitlist”. Each seat that comes back emails the next person in line, oldest signup first.
On this page
- When does the waitlist button replace Add to cart?
- What does joining the waitlist ask of a shopper?
- When a seat frees up, who gets emailed?
- Does the waitlist hold the seat for the person it emails?
- Can you notify waitlisted customers by hand?
- Can you change the waitlist email and popup?
- Does switching off the waitlist stop the emails?
- What this does not do
- How do you set it up?
- Who uses this?
- What should you read next?
- Common questions
When does the waitlist button replace Add to cart?
As soon as every ticket type on the event is sold out, the app swaps your buy button for “Join the Waitlist”.
Sold out, to the app, means every ticket type with a stock number has none left. A ticket type with an Inventory of 0 has no cap, so it never sells out and never opens the waitlist, unless Shared inventory is on and the pool runs dry.
One sold-out ticket type is not enough
With VIP gone and General still selling, the product page goes on selling General. There is no waitlist for one ticket type while another is still on sale.
On a series, each date sells out on its own
On a time slot series the rule runs per date. The shopper picks a sold-out date in the date picker, and the buy button turns into the waitlist button for that date.
Their signup is filed under that date, so they wait for the sitting they wanted while the other dates keep selling.
The button only shows where tickets could sell
It never appears on an ended or paused event, on one set as upcoming, or once your plan’s monthly tickets are used up.
- The Easy Tickets Popup app embed has to be on in your theme, because the embed runs the swap.
- While the waitlist button shows, your theme’s Buy it now and express checkout buttons are hidden.
- Your own wording goes in the Join the Waitlist button field. Left blank, the button reads “Join the Waitlist” in your store’s language.
What does joining the waitlist ask of a shopper?
A first name, a last name and an email, in a popup titled “Join the Waitlist” that tells them the event is sold out.
Name and email, plus a phone number when the event asks for one
“Phone” appears only when the event’s phone field is on. The event’s own attendee questions show too, but the app keeps only the name, email and phone.
The form asks for no quantity. If the shopper had picked a ticket type on the product page, the signup remembers that type.
“You're on the list!” and no confirmation email
After “Join waitlist”, the popup shows “You're on the list!” and “We'll let you know when tickets become available”. The app sends no confirmation email.
One email address gets one entry per date, though the same person can join several dates.
Every signup starts Waitlist Signup in Shopify Flow
A signup from your store fires the Waitlist Signup trigger, with the customer name, email, event name and language. With Klaviyo connected, it also arrives there as “Joined Waitlist”.
The other four triggers are in the Shopify Flow guide.
- On a series the event name is the series, and the trigger carries no date or ticket type.
- Language stays empty until you switch on customer languages.
- Mailchimp gets nothing, and people you add by hand start no trigger.
When a seat frees up, who gets emailed?
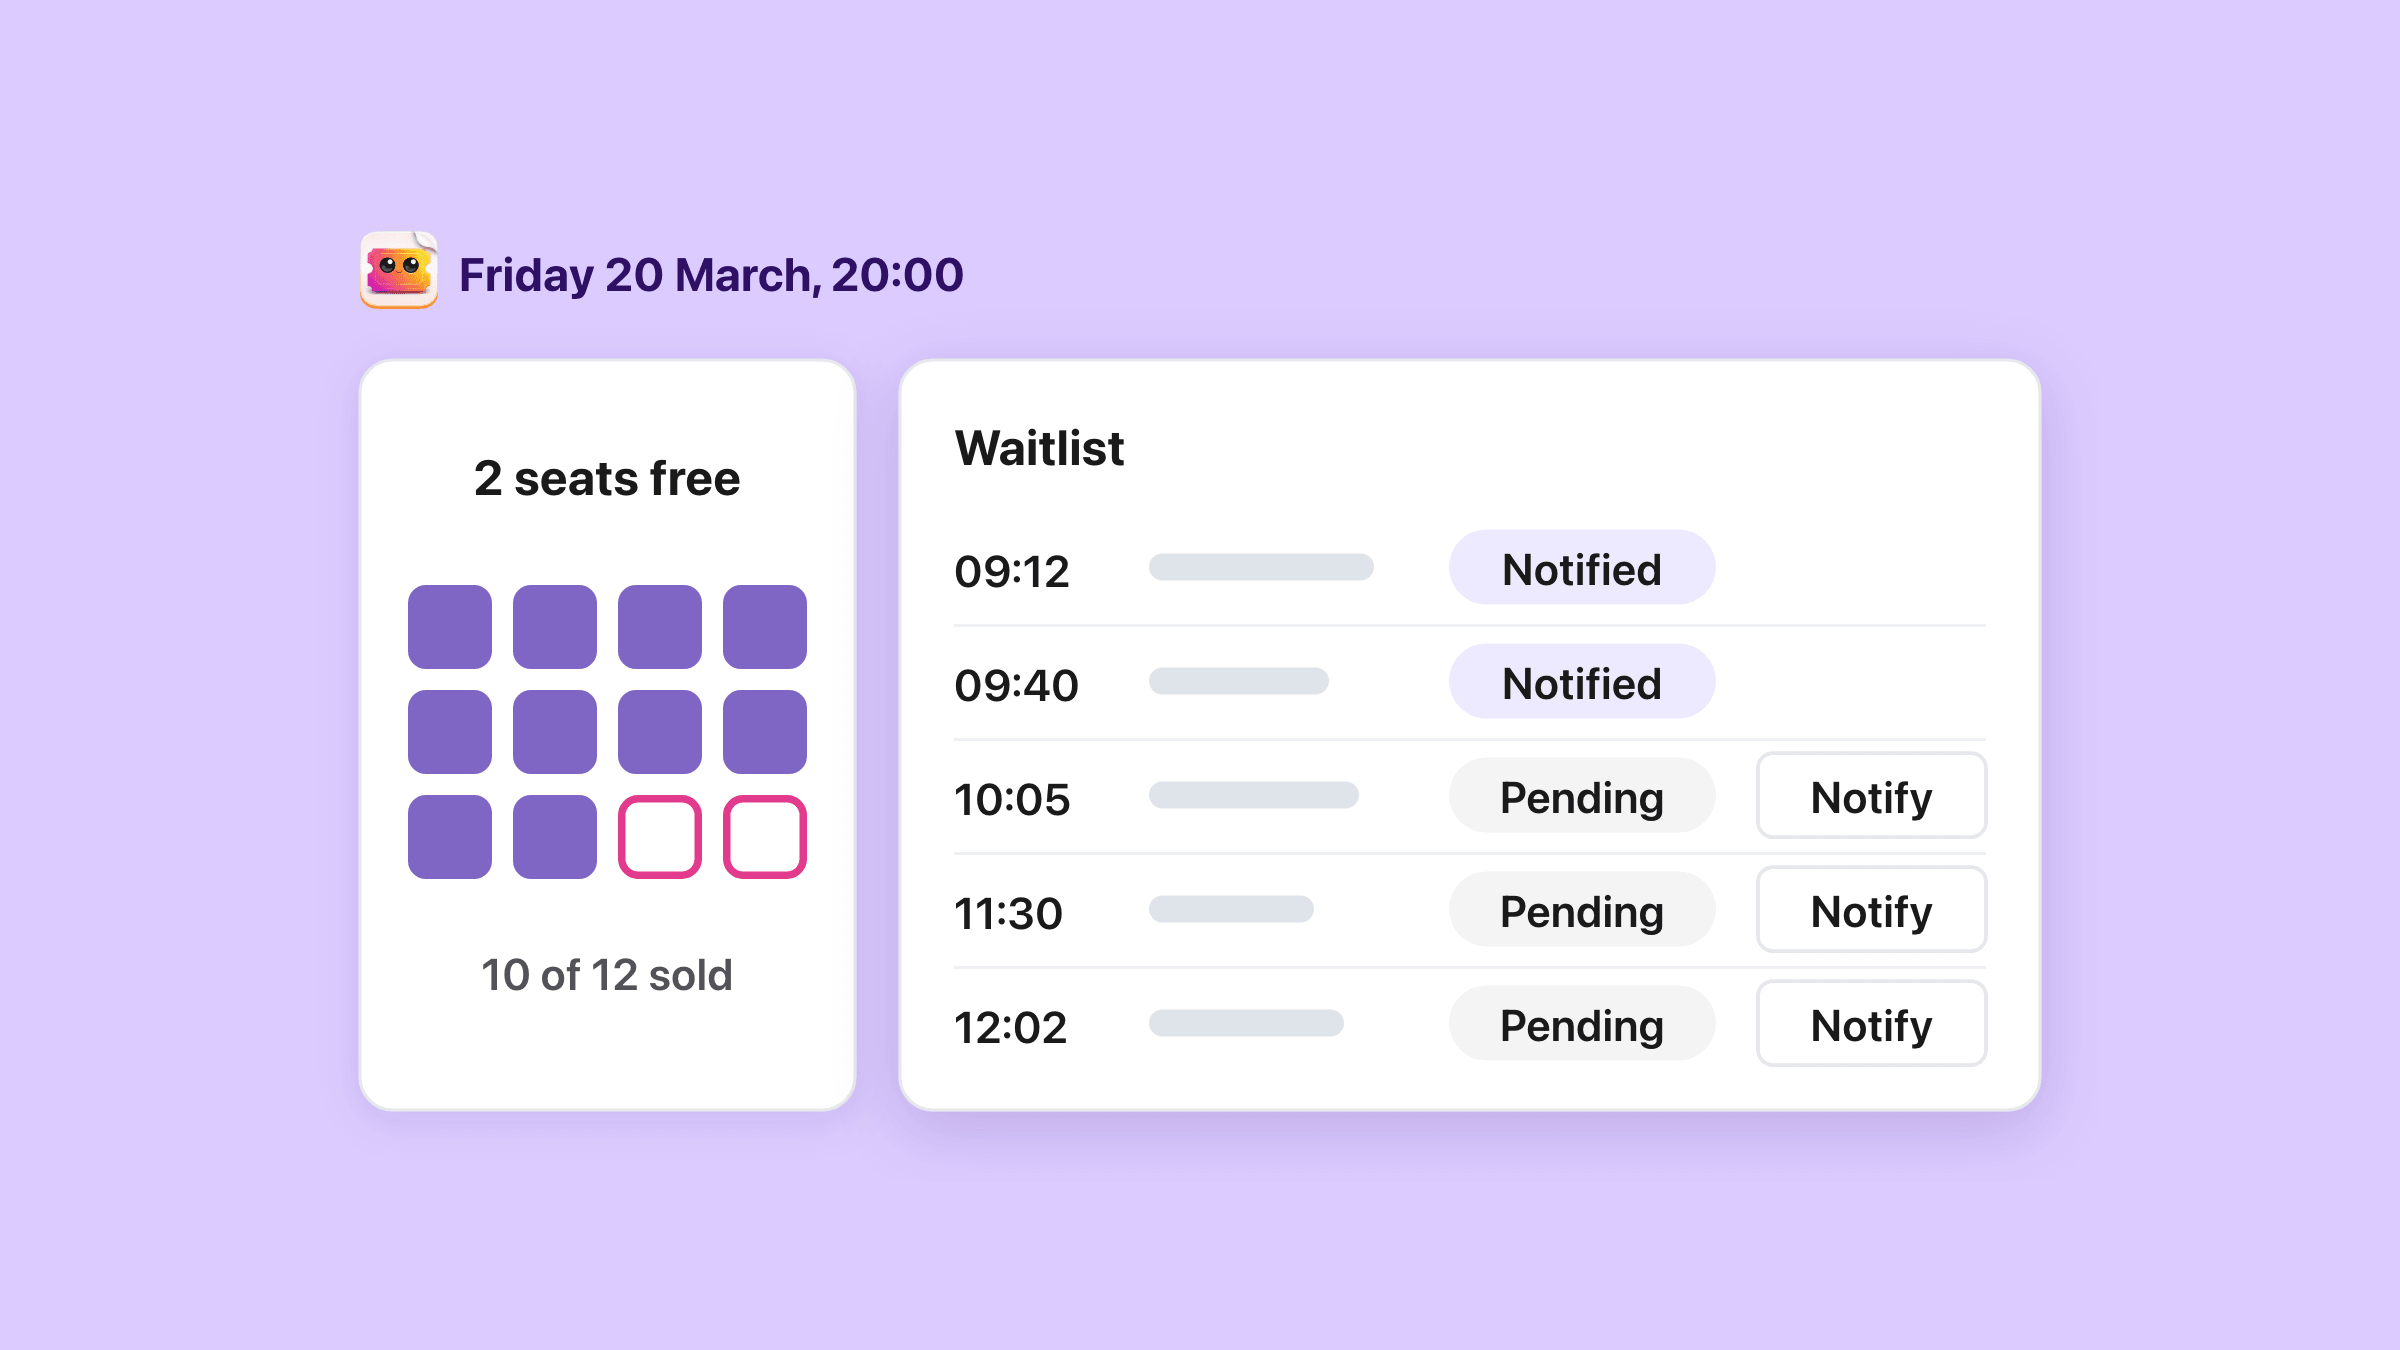
The people who signed up first, one email for each seat that came back.
Refunds, cancellations and moves start the emails
The app runs the waitlist on its own whenever a ticket gives its seat back.
- A refund in Shopify, a cancelled order, or an order edit that removes tickets.
- Cancel ticket on the event’s Attendees tab, whose dialog warns “Anyone on the waitlist is emailed.”
- Keep ticket, remove from this date, which takes a ticket off its date until you give it a new one.
- A ticket moved to another date, by you or by the customer.
- A class booked with a class pass and then cancelled.
Oldest signup first, one email per free seat
Each run counts the free seats per ticket type, from that type’s own stock, and emails that many people, oldest signup first. Someone who picked a ticket type only hears about a seat of that type.
On a reserved seating date the free seats come from the seat map. Everyone emailed is marked “Notified” on the Waitlist tab.
Deleting a ticket or adding seats sends nothing
Raising capacity, adding a date, restarting paused sales and deleting a ticket send nothing to the waitlist.
For those, email the people you choose with Notify on the Waitlist tab.
Does the waitlist hold the seat for the person it emails?
No. The email links to your product page, and the seat stays on open sale to everyone until somebody buys it.
Two seats come back on a Friday with five people waiting. The two oldest signups get the email, and the seats go to whoever checks out first, on the list or not.
First come, first served, through your normal checkout
The “Get Your Tickets” button opens the event’s product page, which on a series is the series page. There is no private link, no timer and no discount code.
So a shopper who never joined can still take the seat, and someone emailed can arrive to find it gone.
A two-hour window stops one seat going to two people
A seat offered in the last two hours to someone who has not bought yet counts as taken. So if Shopify reports the same cancellation twice, the second run does not email the next person about the same seat.
The window holds nothing for the shopper. It only keeps the app from offering one seat twice.
“Notified” is final
Nobody marked “Notified” is emailed again automatically, and there is no way back to “Pending”. A person who then buys stays on the list as “Notified”, and one whose email failed to send goes back to “Pending”.
Can you notify waitlisted customers by hand?
Yes, one person at a time, with the Notify button on any “Pending” row of the event’s Waitlist tab.
Notify sends one email, seat or no seat
The dialog asks “Notify this person?” and shows the spots left on that date. “Send notifications” emails them straight away, even when no seat is free.
Use it for what the app does not cover, like a room you just made bigger. The email counts as an open offer for two hours, so the next automatic run treats one seat as taken.
The Waitlist tab shows who waits for which date
Every event has a Waitlist tab, and the event dashboard shows the latest four signups under Recent waitlist.
People you add by hand carry no ticket type or phone number.
- All, Pending and Notified filters, plus a Date filter on a series.
- Name, email, phone, ticket type, date and time, spots left, signup time and status on every row.
- Edit, Copy email address and Remove in each row’s menu.
- Add to waitlist, for a phone call or a walk-in, taking a first name, last name and email, and on a series the time slot.
Can you change the waitlist email and popup?
You can change both, the email from the Emails tab and the popup from the Attendee information tab.
The email says tickets are available and links to the event
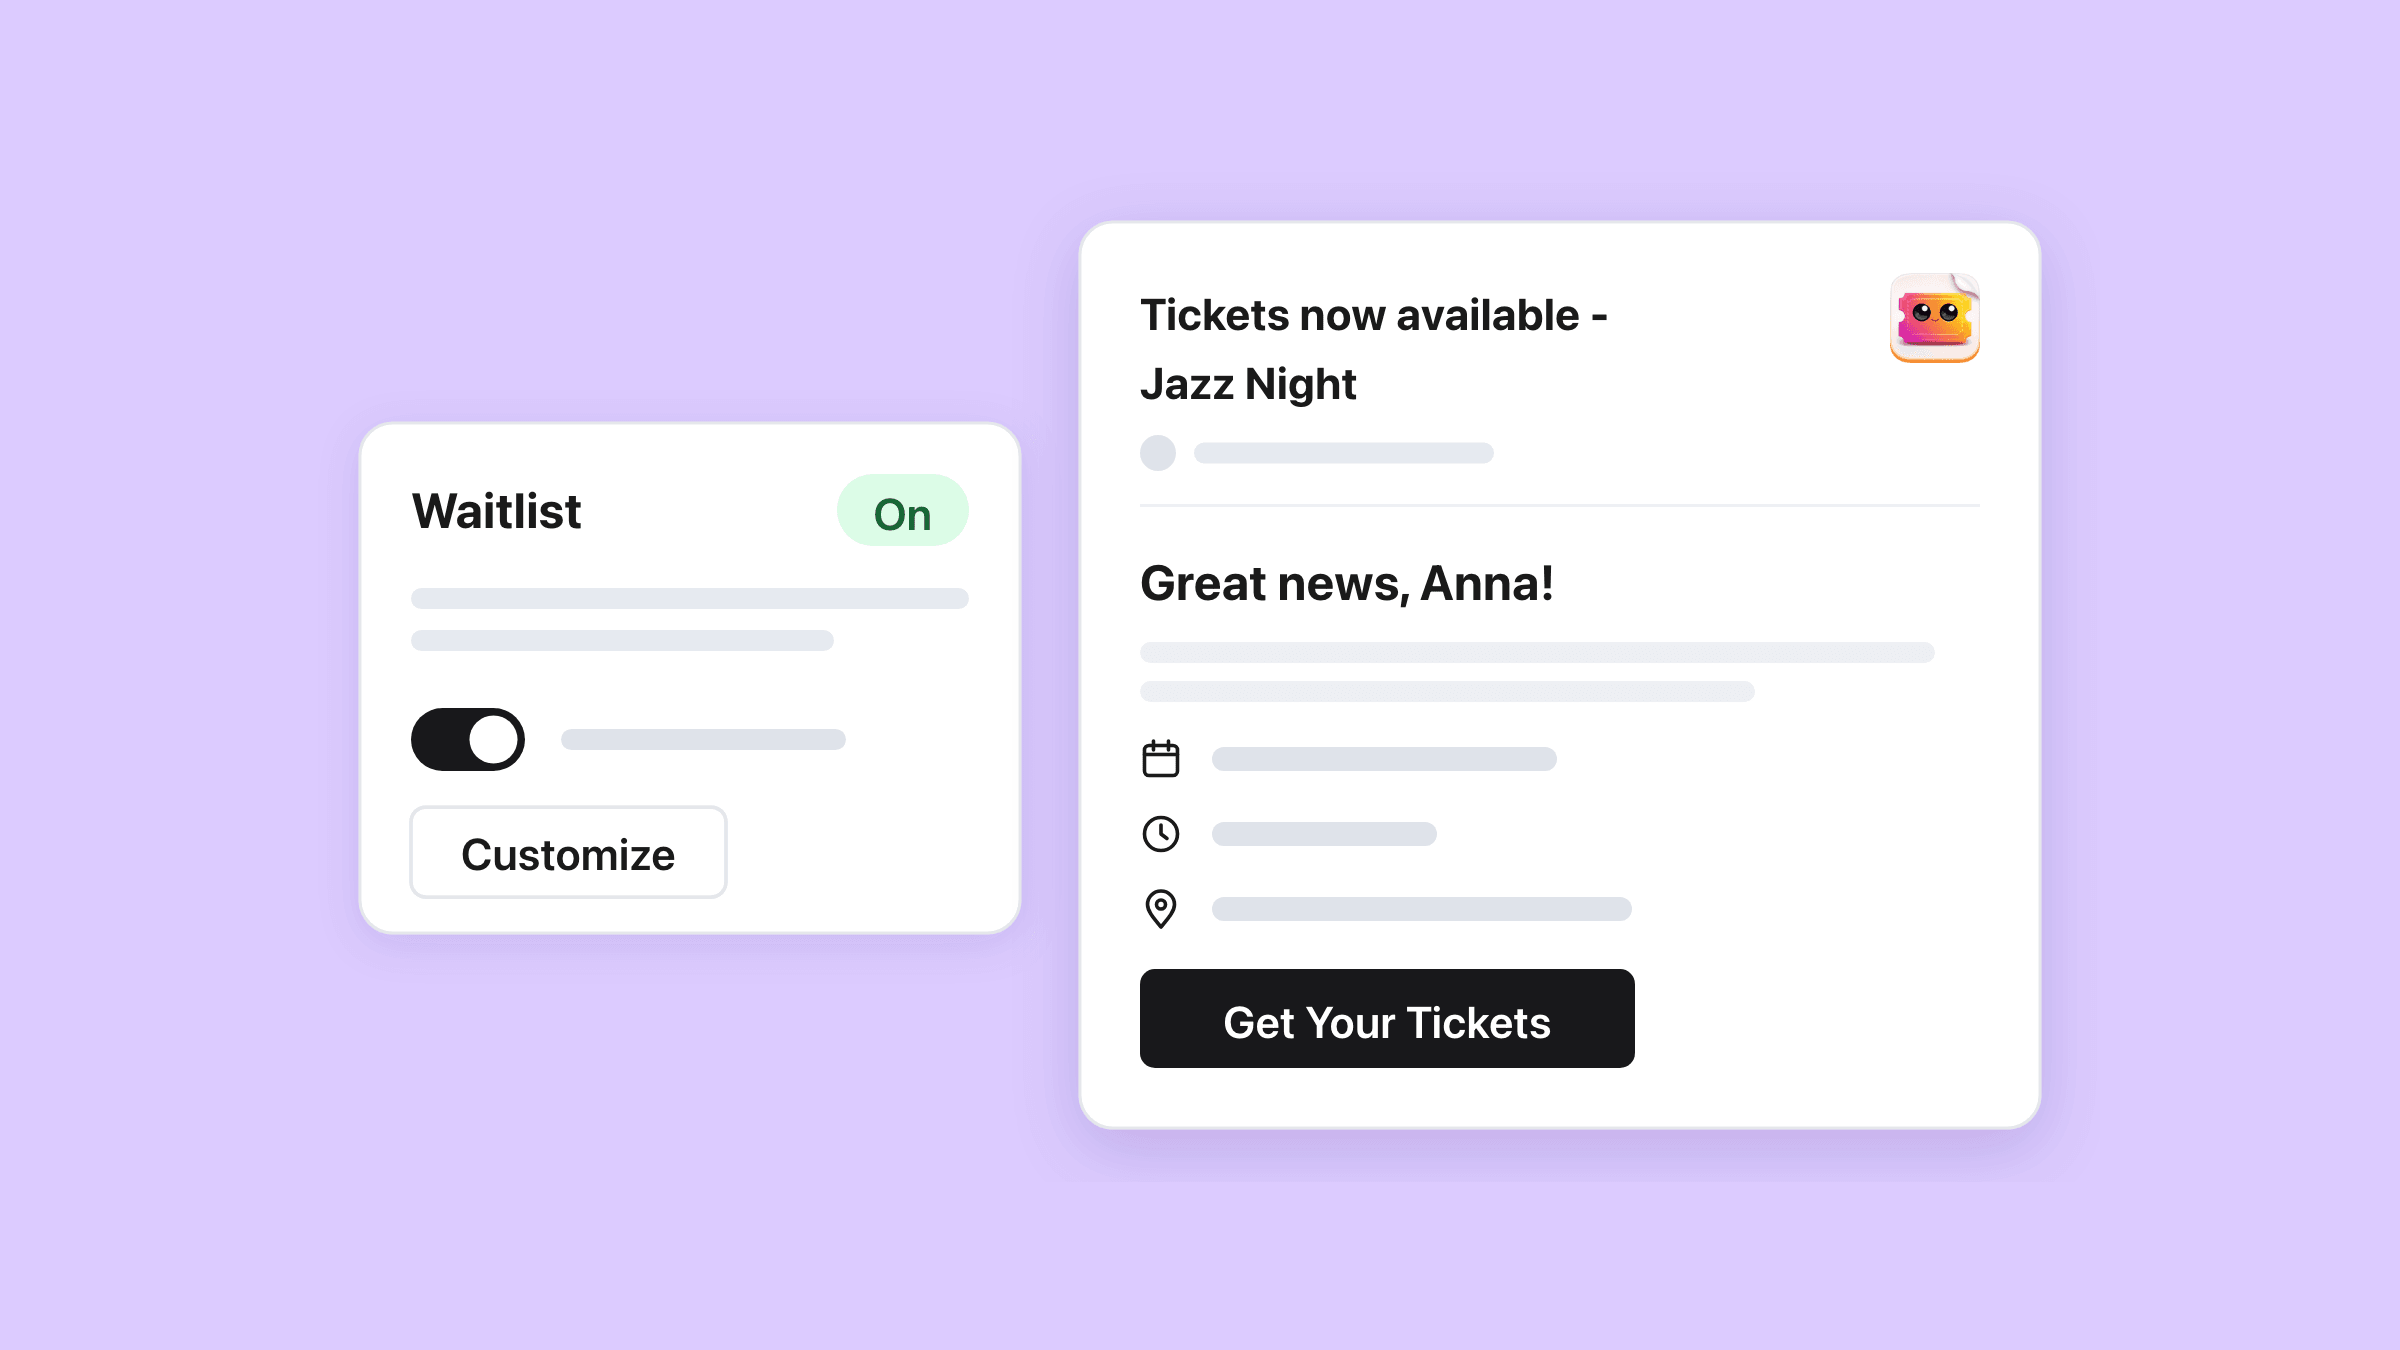
Its subject is “Tickets now available” followed by the event name, and it opens with “Great news” and the person’s name. Then come the date, time and location, and a “Get Your Tickets” button.
An online event’s join link never appears, because nobody on a waitlist holds a ticket. The email goes out under your Sender name, in the language the person signed up in when customer languages are on.
Customize opens the same editor as your other event emails
Select Customize on the Waitlist card of the Emails tab to open the Waitlist template editor. The emails guide covers the card, its switch and the test send.
The subject line sits outside the editor, under Settings > Storefront text, with the built-in greeting, body and button.
- Header, Greeting, Event Details, Button and Footer blocks, with Date, Time and Location toggles.
- Send test email and Reset to default, as in the other email editors.
- Events created since 8 September 2026 start on the designed email. Older events send the built-in one until you save a design.
The popup designer has a Waitlist popup mode
Switch the Popup template editor to Waitlist popup to reword the form. It takes the same Style colours, corners and font as the attendee popup, and it has no code editor.
- Waitlist header, “Join the Waitlist” by default.
- Waitlist description, the sold-out explanation.
- Waitlist submit text, “Join waitlist” by default.
- Success title and Success message, for the screen after the signup.
Does switching off the waitlist stop the emails?
No. Switching Enable waitlist off hides the button on your store, and people already on the list are still emailed when a seat frees up.
Enable waitlist starts on for every new event
The switch sits in three places, and all three change one setting. On a series it belongs to the whole series, and every date follows it.
- Create event, under Waitlist & buttons.
- Event settings > Attendee information, in the Waitlist card.
- Event settings > Emails, on the Waitlist card.
Remove people to stop their emails
The Emails tab card reads as if its switch stops the email as well. It hides the signup only, so clear the list when you close a waitlist for good.
Remove, in each row’s menu, confirms that the person “Will not be emailed when a seat opens up.”
What this does not do
- No CSV export of the waitlist.
- No button that emails the whole list. Notify emails one person at a time.
- No seat hold, private link, timer or discount code in the email. The seat stays on open sale.
- No text messages. The waitlist sends email only, even when the form collects a phone number.
- No confirmation email to the person who joins.
- No waitlist for one ticket type while another type is still on sale.
- No quantity on the form, so you never see how many tickets someone wants.
- No automatic email when you raise capacity, add a date, restart paused sales or delete a ticket.
- Switching the waitlist off hides the button and still emails the people already on the list.
- No Mailchimp sync. Signups reach Shopify Flow and Klaviyo only.
How do you set it up?
Give every ticket type a real capacity
Select Create event and set each ticket type’s Inventory to the number of places. A ticket type at 0 has no cap, so the event never sells out and the waitlist never opens, unless Shared inventory is on.
Under Waitlist & buttons, Enable waitlist is already on. Fill in Waitlist button text only if you want your own wording.
Found under Easy Tickets & Events > Events > Create event.
Check the switch and the button text
On an existing event, Enable waitlist sits in the Waitlist card. The Button text card further down holds the Join the Waitlist button field.
On a series, change both on the main event, and every date follows.
Found under Easy Tickets & Events > Events > [your event] > Event settings > Attendee information.
Design the popup and the email
In the Storefront popup section of the Attendee information tab, select Customize on the Waitlist popup card to reword the form.
Then open the Emails tab and select Customize on the Waitlist card. Send test email shows you the real email before a customer sees it.
Found under Easy Tickets & Events > Events > [your event] > Event settings > Emails.
Check the popup embed and watch the Waitlist tab
Let’s finish on the storefront. The Easy Tickets Popup app embed has to be on in your theme, or no waitlist button appears.
Signups then collect on the event’s Waitlist tab. The waitlist guide covers every setting and message.
Found under Shopify admin > Online Store > Themes > Customize > App embeds.
Who uses this?
Tasting rooms and tours
A sold-out 11:00 sitting keeps its own list, so the people waiting hear about 11:00 and never about 17:00.
Read the guideClasses and workshops
A pottery class of eight that fills in a day, where one cancellation emails the first person who signed up.
Read the guideGigs and small theatres
A sold-out show where refunds trickle in during the last week, each one emailing the next person in line.
Read the guideFree talks and open days
A free event capped at the room, where cancelling one registration emails the waitlist straight away.
Read the guideWhat should you read next?
Time slots and timed entry
Every sitting keeps its own seats and its own waitlist, so a full 11:00 leaves 14:00 selling.
Free event registration and RSVP
Free events fill up too, and the same waitlist takes over when the last free place goes.
Reserved seating from a seat map
On a seated date the free seats on the map decide how many people on the waitlist are emailed.
Emails: confirmation, reminder, follow-up and waitlist
Every event email in the manual, with the Waitlist card, its switch and the test send.
See every Easy Tickets featureRead the setup guide in the manual