Short answer
How do you add a scrolling logo strip?
Upload your brand logos in the app
Easy Brand Page builds your brand list from the vendors on your products, so the brands already exist. In the app, upload a logo for each brand you want in the strip. A brand with no logo simply shows its name as a text chip.
If it does not work
One logo sits in a visible white rectangle while the rest float. That is a logo saved on a white background rather than a transparent one, and it shows the moment your section colour is anything but white. Crop the empty space tightly around the mark, or ask the supplier for a transparent PNG.
How to undo it
Upload another file over it, or remove the logo and let that brand fall back to a text chip.
Add the Brand slider block to a section
In the theme editor, add the Brand slider block to any section - your homepage, a landing page, or above the footer - and set its Layout to Brand logos. It renders the logos you uploaded, with no code to write.
If it does not work
The block is nowhere in the Apps group. App blocks need an Online Store 2.0 theme, and the section you are trying to drop one into has to be built to accept them, so a theme from before 2021 that has never been updated cannot take it at all.
How to undo it
Click the block and choose Remove block. The page goes back to exactly what it was and your logos stay on their brands.
Turn on auto-scroll and pick the brands
Switch on Scroll automatically for the moving carousel, and choose a speed: slow, normal or fast. Set the source to your featured brands, one brand tag, or all brands, and how many logos to show.
If it does not work
You set the source to Featured expecting the five you care about and the strip shows everything, because nothing has been starred yet. Star the brands you want in the app first. Sourcing by one tag needs the Plus plan, so on Free that route is not there.
How to undo it
Source, speed and count are theme settings. Change them back, or use the theme editor's undo button while the changes are still unsaved.
Style how it looks and behaves
Set the logo height and the space between logos, keep pause-on-hover on so shoppers can read a logo, and optionally turn on grayscale-until-hover. Each logo links to its brand by default, which you can switch off.
If it does not work
Pushed to 30 logos, the strip turns into wallpaper - nobody reads to the end of a row that keeps moving. Turning pause-on-hover off has the same effect on a single logo, since a shopper never gets long enough to read it.
How to undo it
Every setting here is reversible in the theme editor, and nothing reaches the storefront until you save the theme.
What you get
- An auto-scrolling logo carousel, or a static row shoppers scroll by hand
- Three scroll speeds, with pause-on-hover so a shopper can read a logo
- Optional grayscale-until-hover to keep the strip calm until it is looked at
- Each logo links to its brand's collection, or a search for that brand
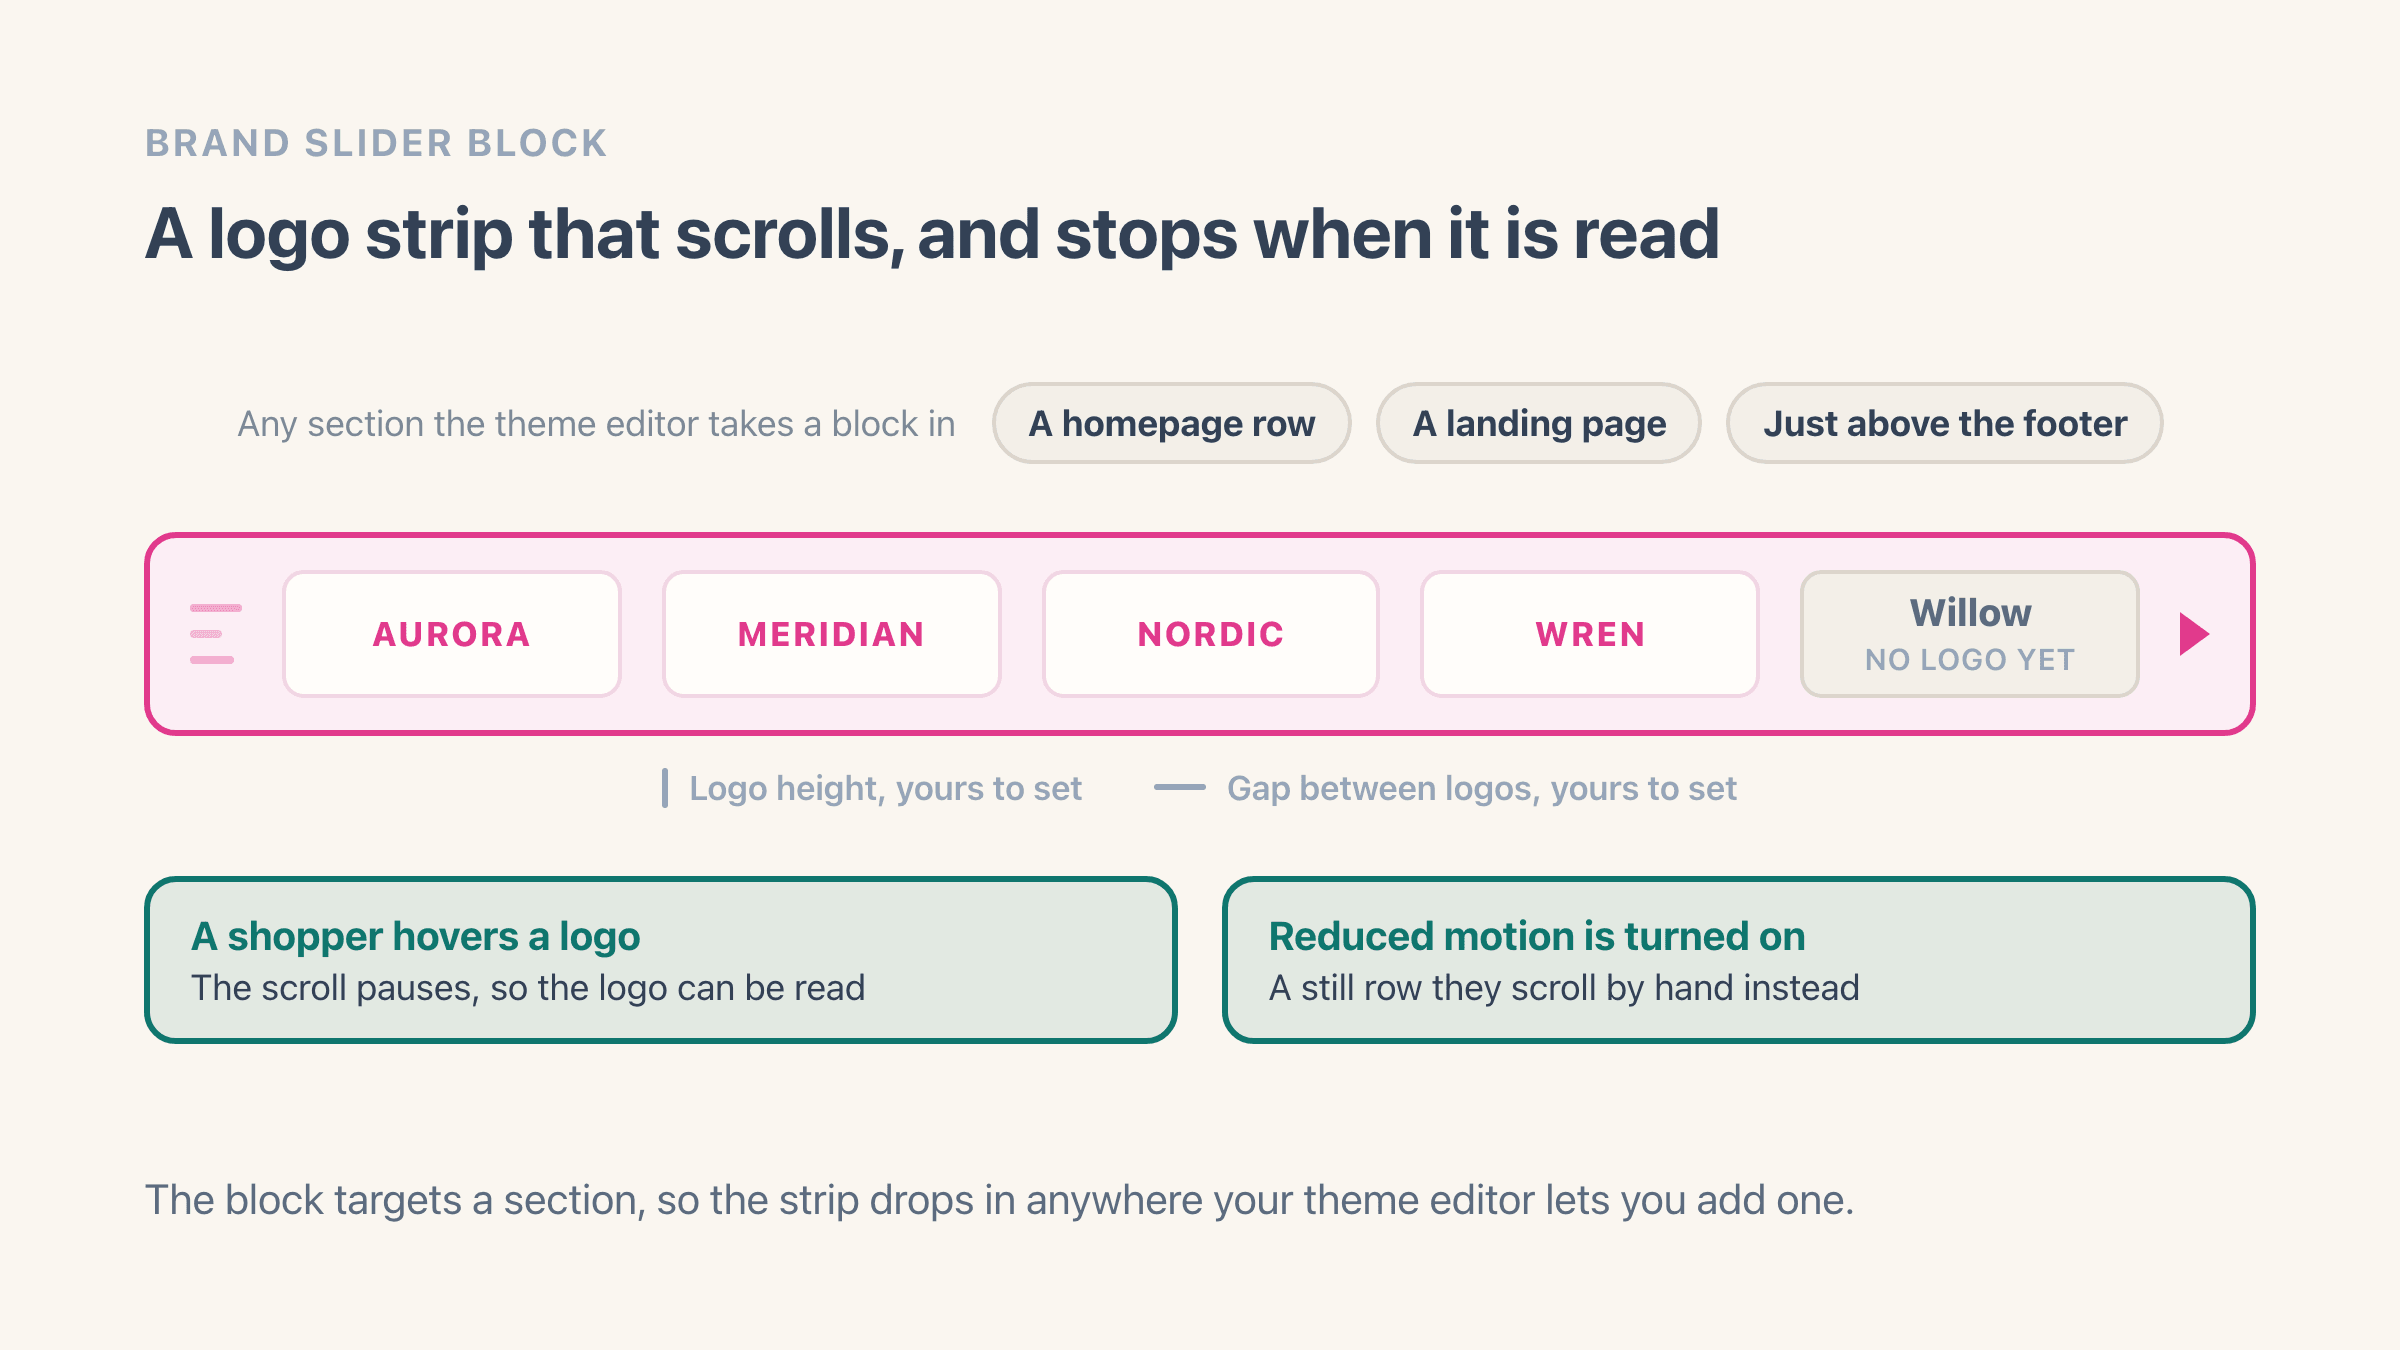
- A text chip for any brand that has no uploaded logo yet
- Source from your featured brands, one brand tag, or all brands
Should your brand logos scroll or sit still?
Scroll them when the strip sits on a page that is about something else - a homepage, a landing page, a row above the footer - and you want a few brand names noticed in passing. Keep them still when the logos are the point of the page, which is what the brand logo grid is for. The two are different blocks, and plenty of stores run both.
The Brand logos layout is the moving one: logos scroll across the page as a carousel, the way an "as seen on" or "our brands" strip runs along a homepage. It is one block you place on a section, and it reuses the logos you upload once - see uploading brand logos for how they are added and where each one can appear.
Where can you put the brand logo strip?
Anywhere your theme editor lets you add a block: a homepage row, a landing page, the space just above the footer. You control the logo height and the gap between logos, so the strip fits whatever space it lands in rather than forcing the section to fit it.
It is built to stay calm: the scroll pauses when a shopper hovers a logo, and it honors the browser's reduced-motion setting, so a visitor who prefers less movement sees a still row they can scroll by hand. The brands themselves come from your product vendors, so see building the brand directory for how that list is created.
Two settings decide how loud the strip is. Grayscale until hover is off by default and worth turning on when your logos are a riot of clashing colors, because it makes the row read as one thing and gives the shopper the color back as a reward for pointing at it. Brand names under the logos are off by default too, and most stores should leave them off, since a wordmark already says the name.
How many logos should the strip show?
The setting runs from 2 to 30 and starts at 8, which is about right for a homepage row: enough that the shop looks stocked, few enough that a shopper takes them all in. Push it to 30 and the strip turns into wallpaper, because nobody reads to the end of a row that keeps moving.
Which eight is the more interesting decision. Featured brands is the default source and shows the brands you starred in the app, so the names that actually sell get the space and the long tail stays in the directory.
One tag shows a single category - tags are part of the Plus plan - and that is how you put a skincare strip on the skincare page and a tools strip on the tools page.
All brands makes sense for a small store where every brand is worth showing, and if you have not starred anything yet the Featured source shows all brands anyway, so the strip is never empty on day one.
Sizing keeps the strip in proportion to whatever section it lands in. Logo height runs from 24 to 120 pixels and starts at 60; the space between logos runs from 12 to 96 and starts at 48. When a strip looks cramped, widen the gap before you shrink the logos - it reads better, and small wordmarks stay legible on a phone.