Short answer
How does a packshot become a model photo?
Pick your products
Choose products from your catalogue using filters for vendor, tags, type or stock. PackScene reads the packshots you already have.
If it does not work
The filter catches products whose first photo is a styled lifestyle shot or a hard good rather than a clean packshot, and you only find out after the credits are spent. Open a few of the selected products and look at the actual images before you go further.
How to undo it
Nothing is charged and nothing changes while you are still selecting. Deselect, change the filter and pick again as many times as you like.
Choose the look
Pick a male or female model, one or more framings (full, upper or lower body) and an aspect ratio. You can generate a front view and a matching back view.
If it does not work
Whatever you tick under Framing applies to the whole run and not to one product at a time. So a batch mixing tops and trousers either comes back cropped wrong on half of it, or costs you a second framing on every product in the job. Split mixed catalogues into two runs.
How to undo it
Every setting here is free to change until you press Generate. Model, framing and aspect ratio can all be reset without spending anything.
Generate and review
PackScene generates the on-model images and runs each one through an upscaler. You approve the ones you like and mark the rest as "Don't use".
If it does not work
Fabric comes back soft, or a placement print has drifted off centre. That is nearly always the input rather than the generator, so replace a small or heavily compressed packshot with a larger original before you try again.
A run showing no progress after twenty minutes has hit a fault rather than a queue.
How to undo it
Marking an image "Don't use" keeps it out of the publish, though the credit behind it has already gone. Rerun regenerates that product at a cheaper regeneration credit.
Publish to the product
Publish approved images straight to the Shopify product media, with control over where they sit in the image order. Failed generations are refunded automatically.
If it does not work
You publish from thumbnails, and a detail you would have caught at full size is now the first image shoppers meet in a collection grid. Check prints, logos and hands at full size before publishing rather than after.
How to undo it
Delete the image from that product's media in your Shopify admin. PackScene tags what it publishes, so the generated ones are easy to pick out, and your original packshots are never altered.
What you get
- On-model images generated from flat-lay or ghost-mannequin packshots
- Front and matching back views for full product detail pages
- Model choice, with framing and aspect-ratio control
- Batch generation across many products at once
- Finished images sharpened through an upscaler
- One-click publish to Shopify product media, with auto-tagging
How does the AI actually make the image?
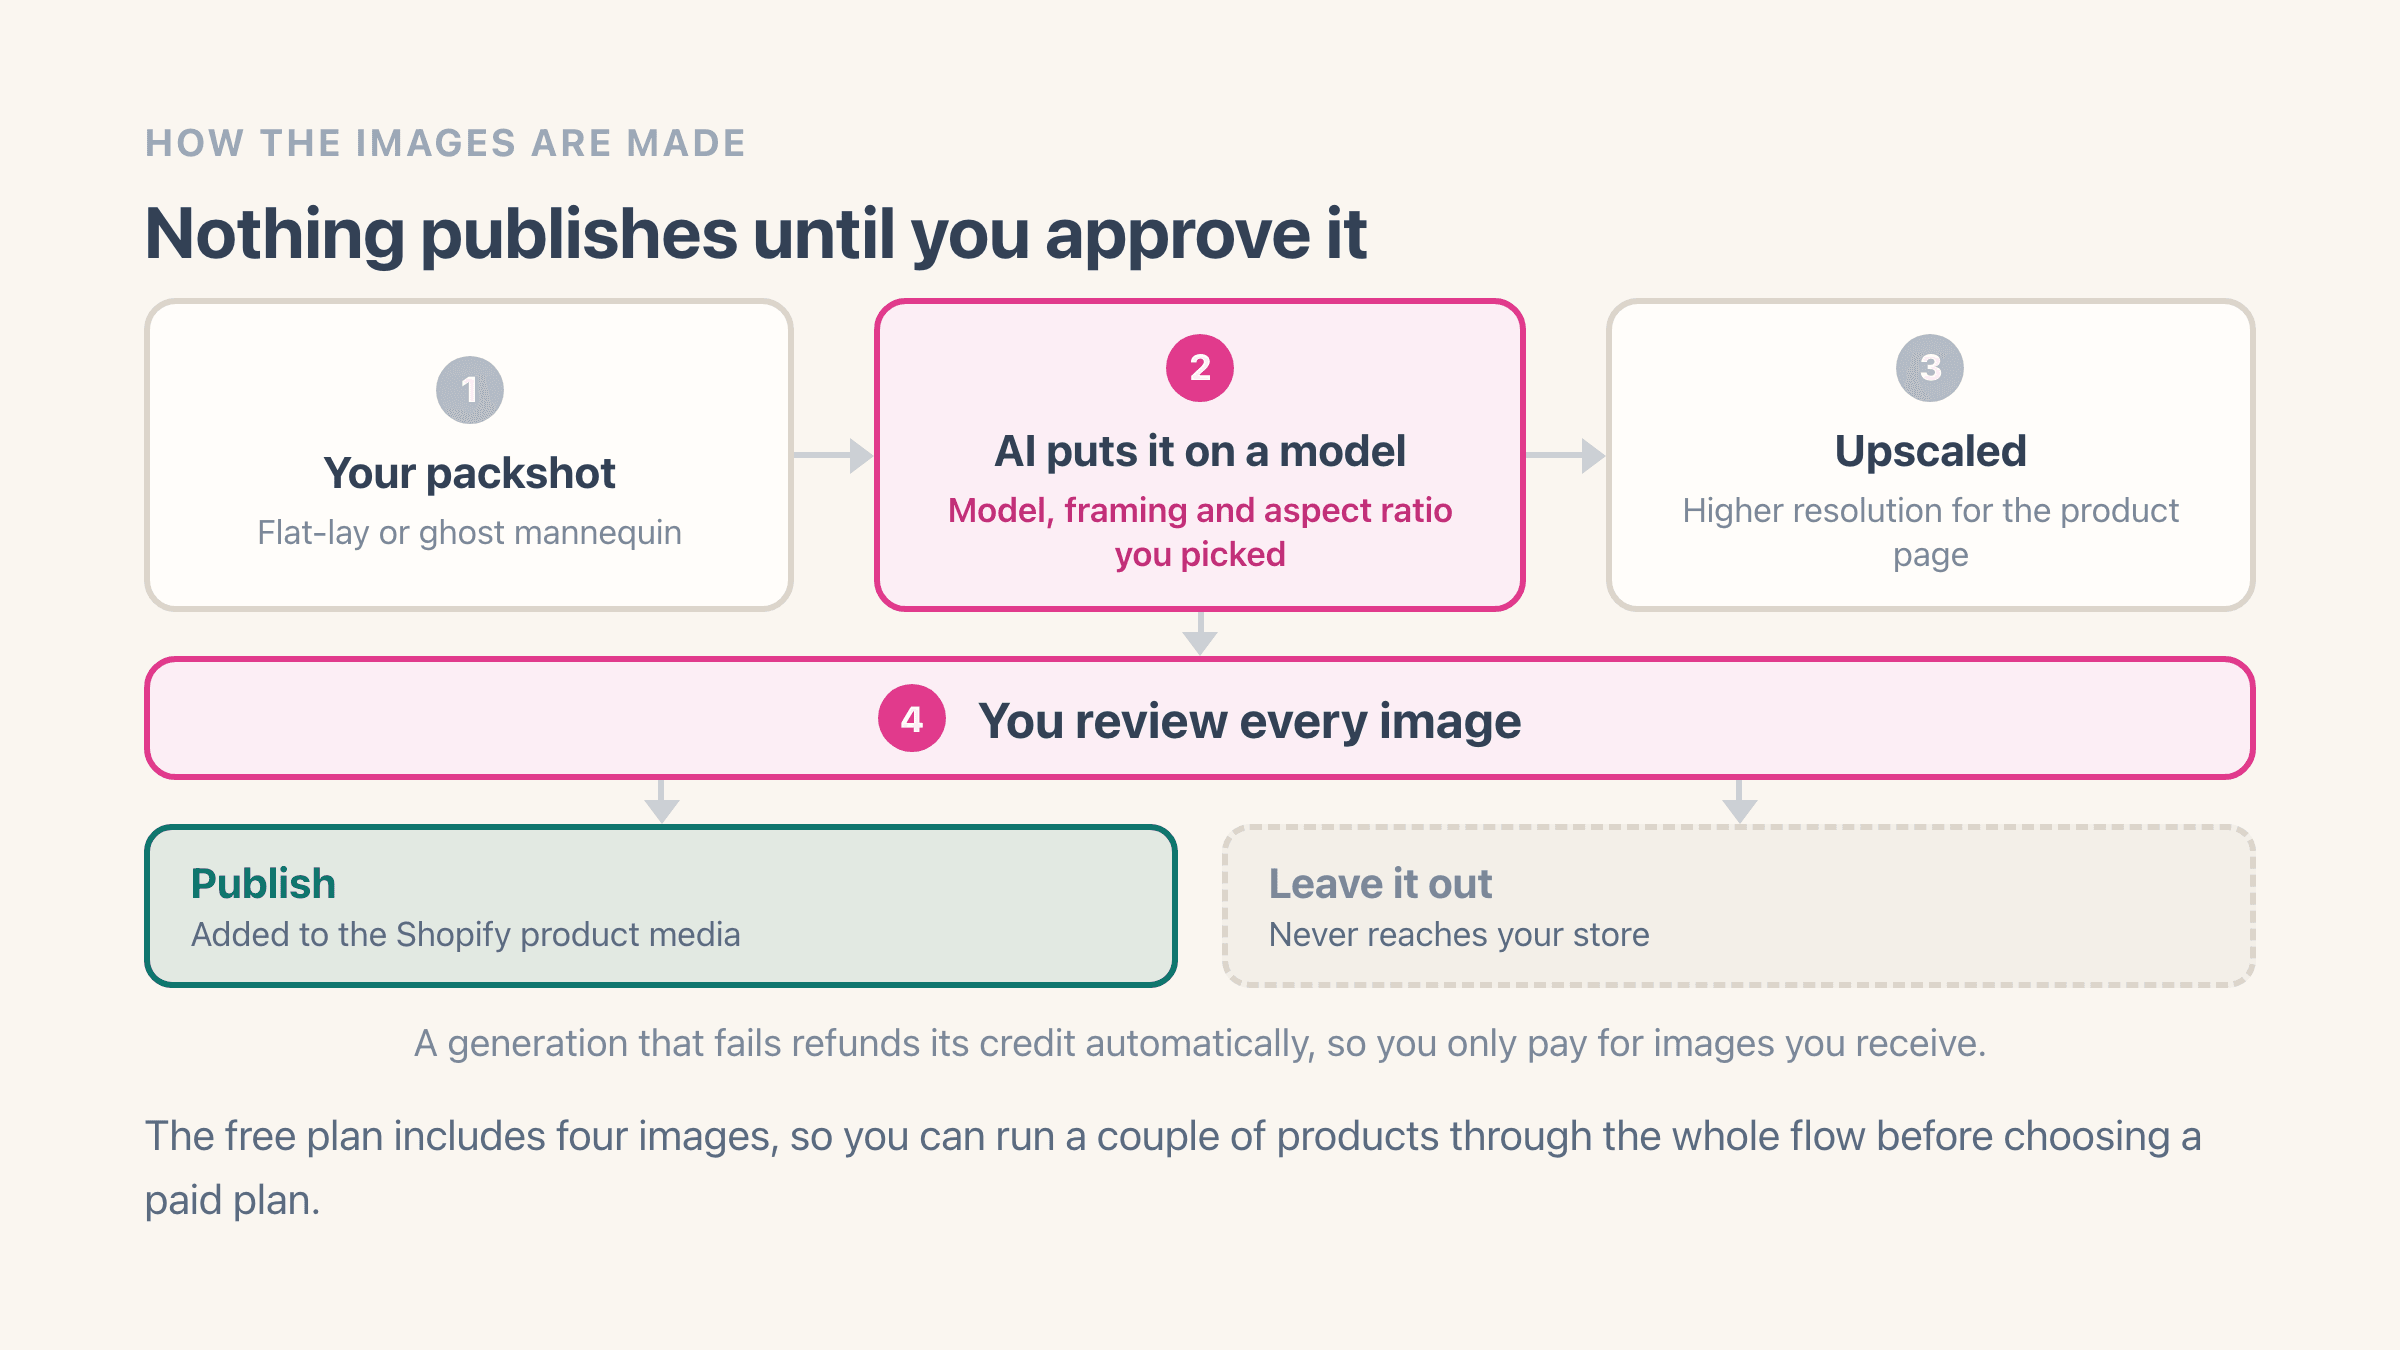
PackScene takes the product photo you already have and uses an AI image model to place that product on a chosen model, in the framing you picked, on a plain grey studio background. It then runs the result through an upscaler so it holds up on a product page.
There is no scene or background choice on that screen, so putting a product into a room or onto a beach is a different job from an on-model photo and needs a different tool.
Nothing publishes automatically. You review every image, approve the ones that look right, and only those go to the product. If a generation fails, the credit is refunded.
What makes a packshot good enough to use?
Two mechanical things decide most of the result before you touch a setting. Resolution is the first. A photo under roughly 512 pixels on a side struggles, and 1000 pixels or more is where output turns consistent. File type is the blunter of the two, because JPEG and PNG are reliable while HEIC files off a phone, SVGs and oddly saved WebPs can fail outright instead of coming back merely soft.
After that it is styling, and every fix is something you can do in an afternoon. Show the whole garment with sleeves, hems, collars and straps in frame, since the AI reads the cut from what you give it. Shoot on white or pale grey under even light. Steam the piece first, because a fold gets drawn as though you designed it that way. Keep hands and arms out of the shot.
One test saves more credits than any setting does. If you would not put the packshot on the product page exactly as it is, it is probably not clean enough to generate from either. Angled shots, crops that cut off a hem, and dim phone photos disappoint most often.
Which products does this work for?
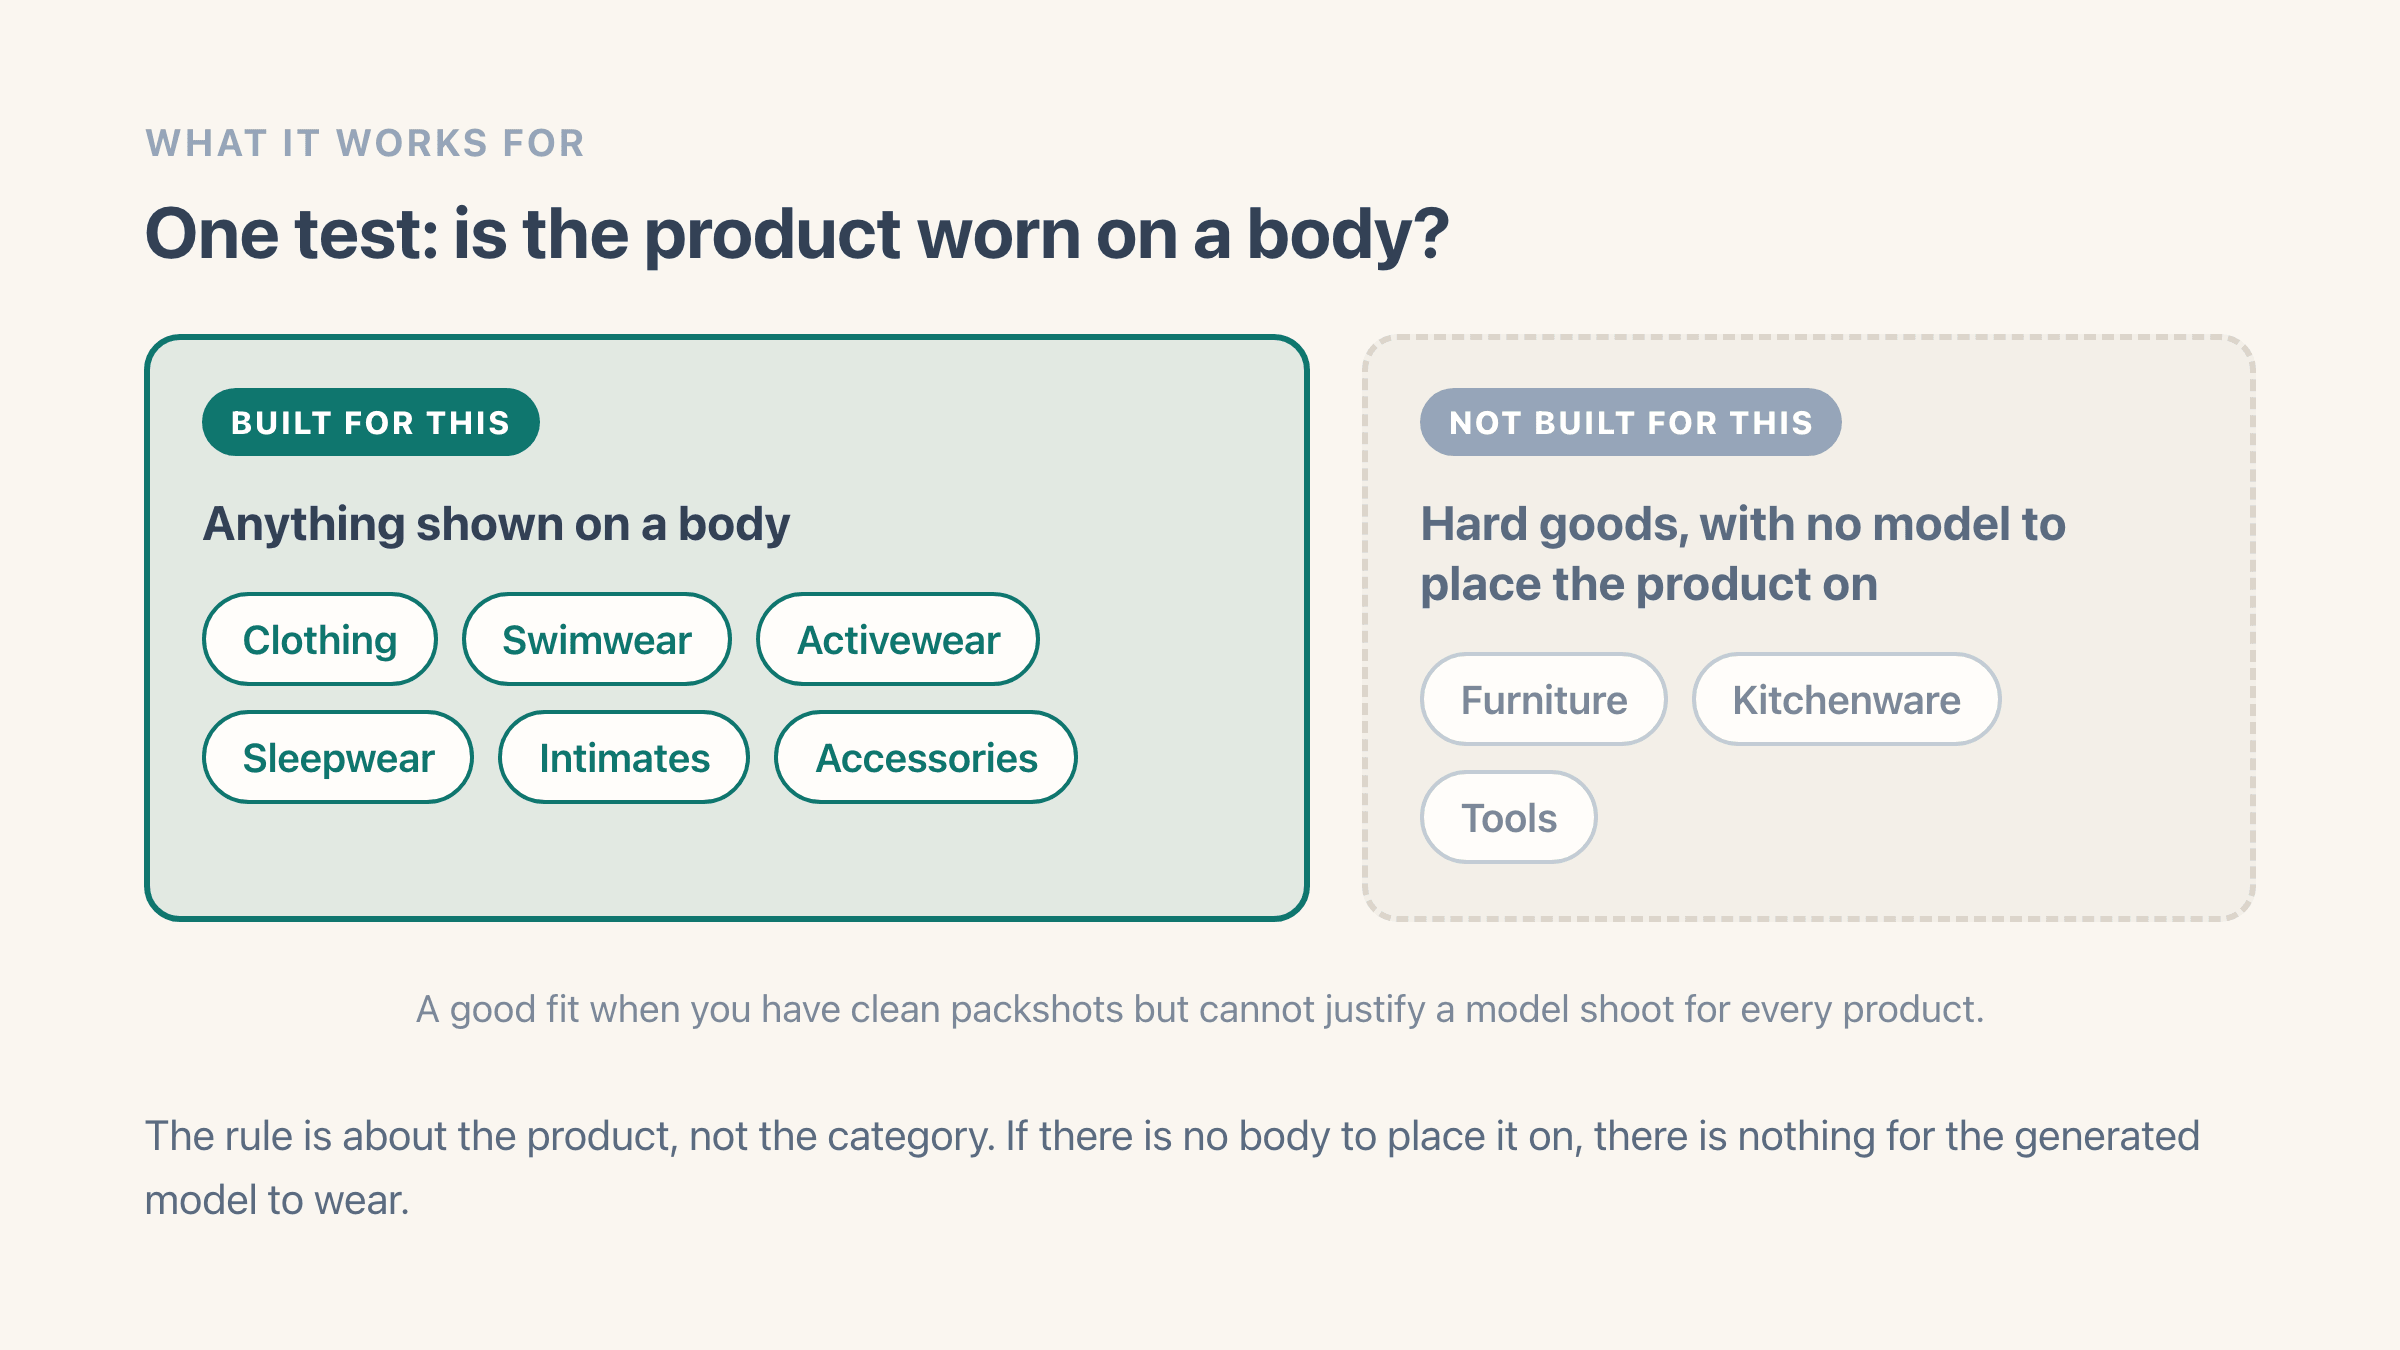
PackScene is built for anything shown on a body: clothing, swimwear, activewear, sleepwear, intimates and accessories. It is a good fit when you have clean packshots but cannot justify a model shoot for every product.
It is not built for hard goods like furniture, kitchenware or tools, where there is no model to place the product on. For apparel specifically, see AI product photos for apparel brands.
How long does one image take?
Minutes, and you do not have to sit and watch. Each image goes through a generation step and then an upscaling pass, both running in the background on our servers, so you can close the tab the moment you have clicked Generate and come back to a finished run.
Batches behave better than people expect, because images run alongside each other rather than one after another. Queue 50 products and the run finishes in several minutes end to end. Results land in the review list as they complete, so you can approve the early ones while the rest are still going.
A run that has been going twenty minutes with no progress has hit a fault rather than a queue. Refresh once, give it two minutes, then email us the run number shown on the Reviews page. We requeue it or put the credits back by hand.
What does one image cost?
Between about 14 and 20 cents, depending on your plan. PackScene charges in credits and one credit is one finished image. The free plan gives four credits once, enough to put a couple of products through the whole flow before paying anything. Starter is $9 a month for 45 images plus 5 redos, Creator is $39 for 250 plus 30, and Pro is $99 for 700 plus 100.
Credits come off when an image is generated rather than when you publish it, so a picture you decide against has still cost its credit. Anything that fails outright is refunded automatically. Reviewing carefully is therefore free while generating carelessly is expensive, which is why putting ten hero products through first is worth the delay.
Comparing that with a photographer is a sum only you can do, and it is worth doing on paper first. Take the last shoot you paid for. Add the model, the studio, the styling and your own day on set. Divide by the images you actually published from it, then hold that number next to 20 cents. If the comparison you are actually making is against another AI photo app rather than against a camera, PackScene next to Botika puts the two on the same table.
What do you do when the AI gets a detail wrong?
Mark it and move on, because nothing reaches your storefront until you click Publish. In the review screen every generated image sits beside the packshot it came from, with a Don't use button underneath. Marking an image keeps it out of the publish, though the credit behind it has already gone.
When you want another go at the same product, use Rerun instead. It regenerates every image for that product, keeps the packshots you picked, and charges a cheaper regeneration credit. That is the fix for the two failures you will actually meet: a back view that looks like a different person, and a garment that has come out soft.
Soft fabric is almost always the input rather than the generator. A small or heavily compressed packshot leaves the upscaler inventing texture instead of recovering it, so replacing the photo in Shopify with a larger original and rerunning fixes what a second roll of the dice will not. Check prints, logos and hands at full size instead of as thumbnails, since a placement print sitting off centre is exactly the detail a shopper was buying.
Do I still need a photographer?
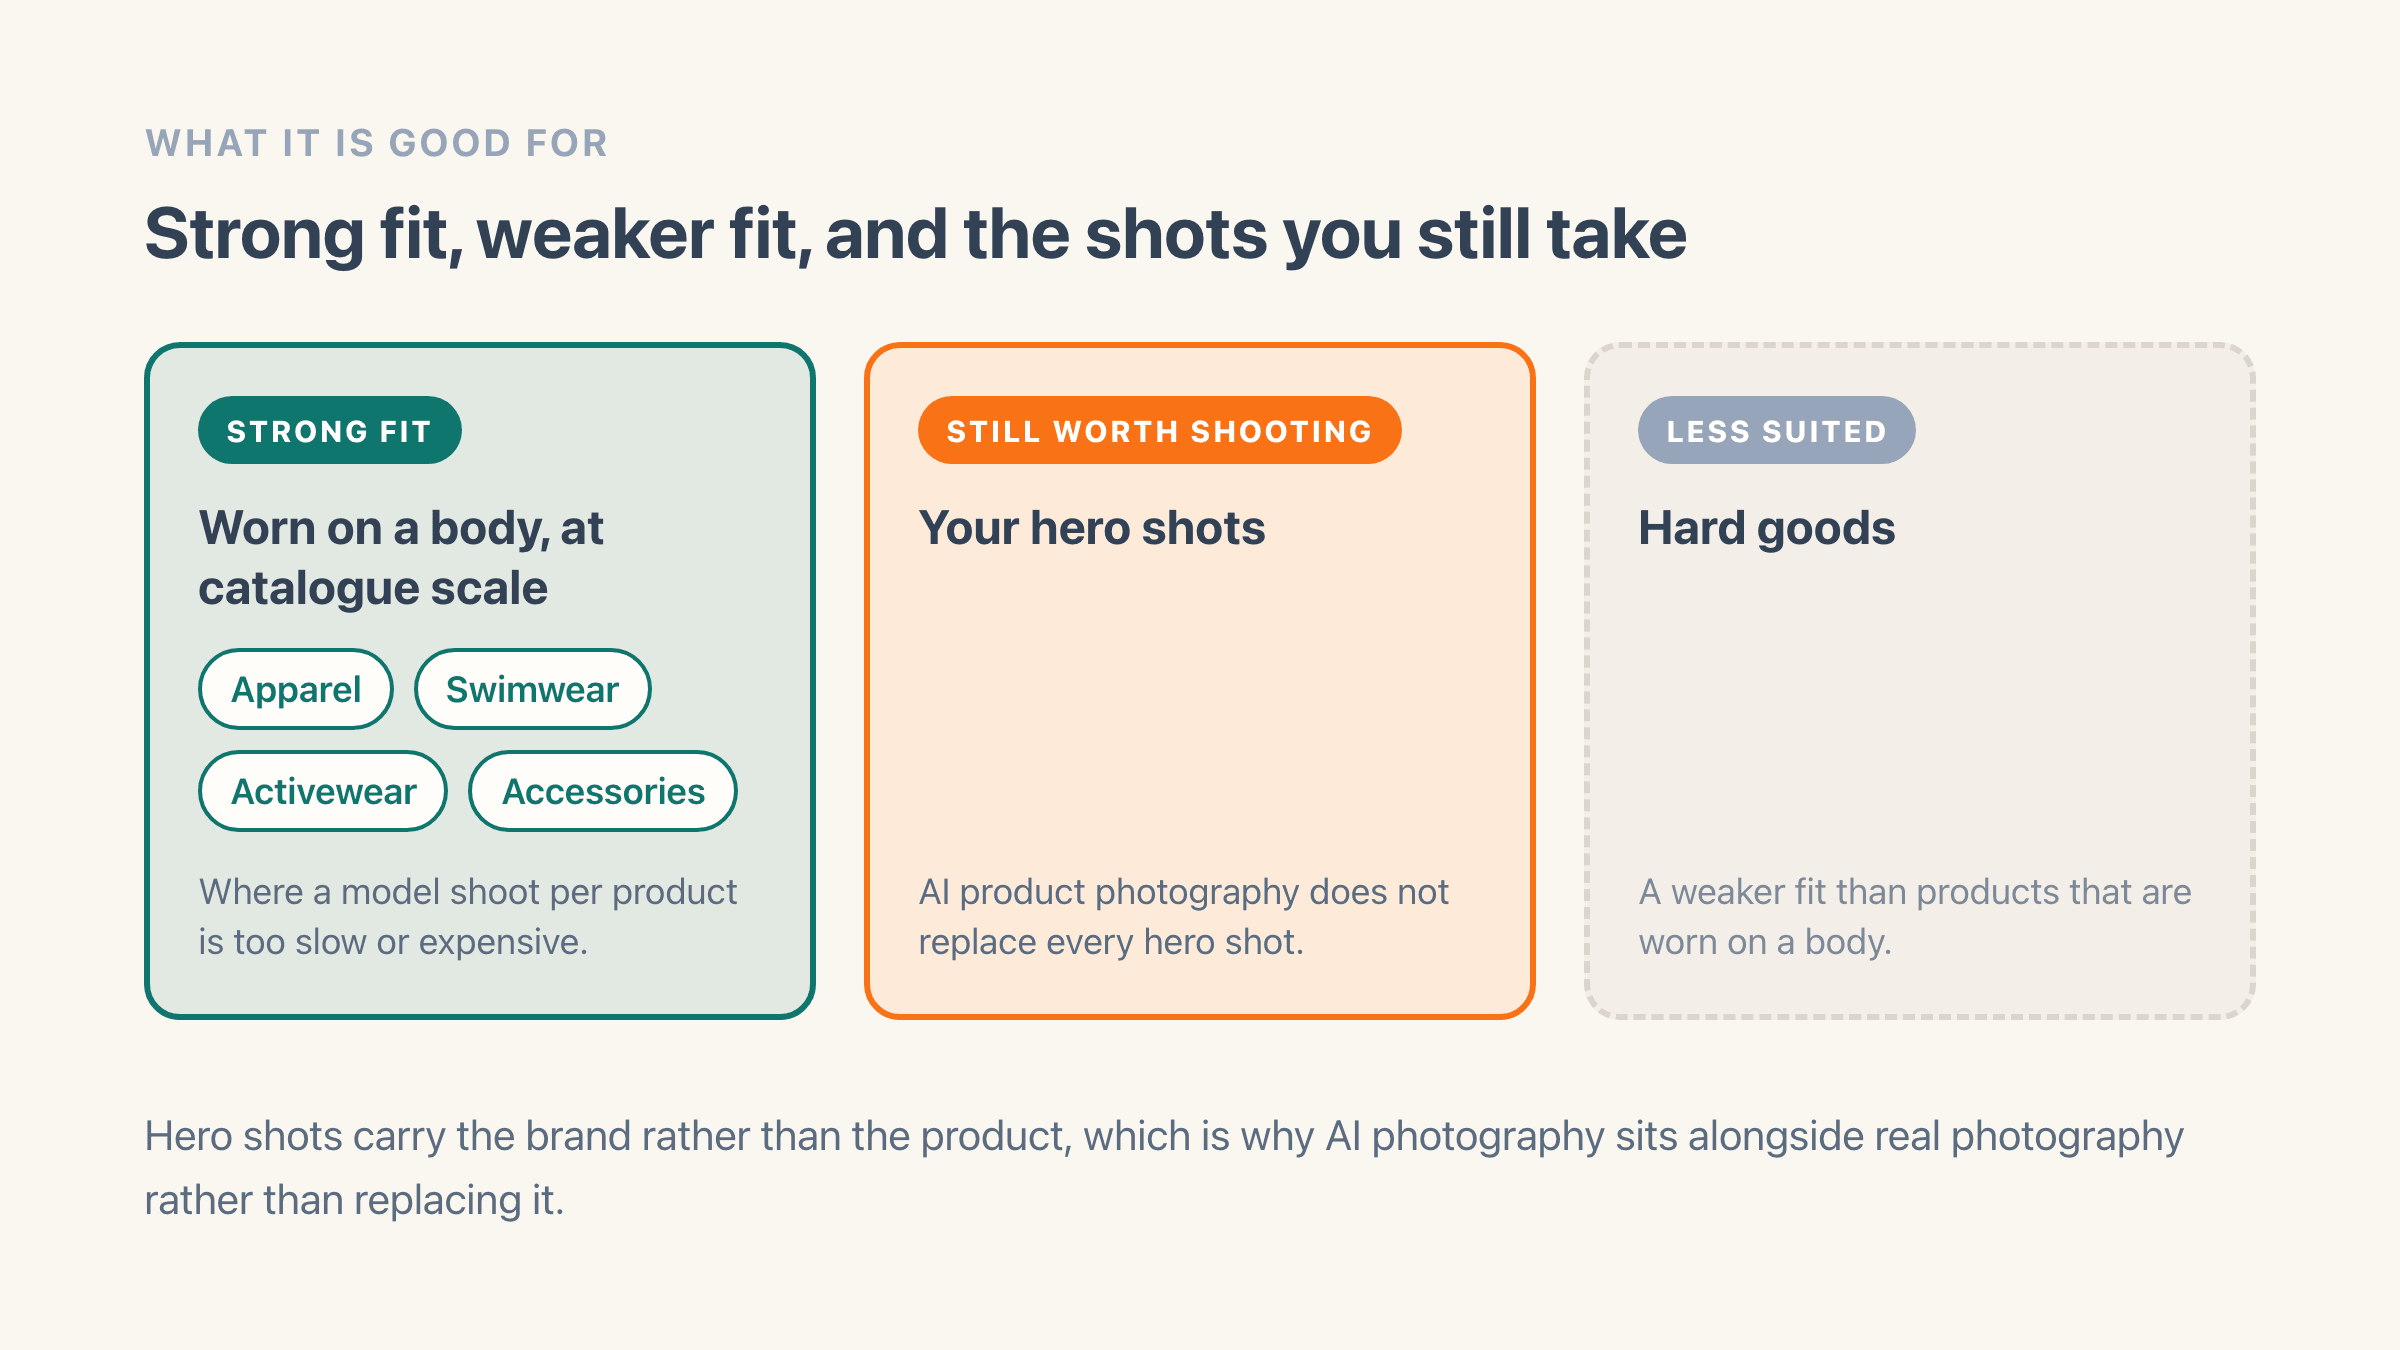
For the products that carry your brand, yes. A shoot buys exact colour under controlled light, real texture, a real person with real proportions, and the campaign images that give a store a look of its own. None of that comes out of a generator.
What generation buys is coverage. It is the model image on the eighty products nobody was going to book a studio day for: the second colourway, the restock, the piece sitting as a flat lay since last year. Six heroes in a new drop deserve a real shoot. The core range behind them usually does not.
Skip the app entirely if you already shoot every product on a model, or if one studio day covers a year of your catalogue. It earns its place the month you start adding products faster than you can photograph them.
Do you have to tell shoppers a photo is AI-generated?
If you run Google Shopping, you already sit inside a rule. Google requires any image made with generative AI to carry data marking it as such, and requires the picture to show the actual product in the correct colour, pattern and material.
Everywhere else it is less settled. In the EU, transparency rules under the AI Act start to apply on 2 August 2026 and put the duty on the shop rather than the app vendor, although whether an on-model product photo counts has never been tested. The United States has no rule aimed at AI product images, only the general ban on misleading advertising, and Shopify publishes nothing on it either.
That makes the decision an easy one. A line in the alt text or the description settles it, along the lines of an on-model image generated from studio photography of the actual garment. What to disclose about AI product photos goes through the rules properly.